

Call Forwarding on Android: A Simple Setup Guide

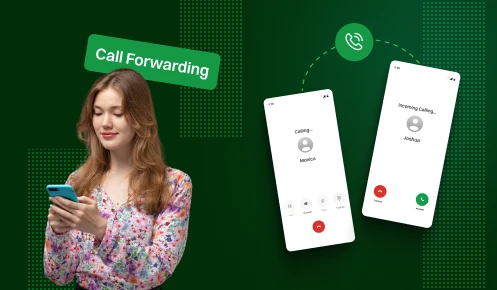
Imagine missing an important call because your phone was on silent, dead, or tucked away in another room. Frustrating, right? Whether it’s a client, a loved one, or a last-minute opportunity, lost calls can cost you more than just time.
That’s where call forwarding on Android comes in. This simple feature ensures your calls always reach you, no matter the situation. From forwarding all calls automatically to selectively redirecting them when you’re busy, Android gives you full control over your availability.
In this guide, we’ll break down how to set up call forwarding on Android in the easiest, most practical way. By the end, you’ll know multiple methods from the default phone app to carrier codes and advanced virtual number apps like Dialaxy that guarantee you never miss a call again.
Let’s dive in!!
Before we dive into the setup process, make sure you have these essentials:
Call forwarding (also known as call divert) is a telephone feature that allows the redirection of incoming calls from one phone number to another number. This may be a mobile telephone, a landline telephone, or an answering service. It is an effective tool for improving your communication. It ensures that you get calls even if you are not around your main number.
This is a very useful option for business people, multiliners, or anyone who needs to be accessible all the time. It avoids the irritation of missed calls. It provides a seamless communication experience for you and your callers.
Types of Call Forwarding include:
When your line is busy.
When you don’t answer within a set number of rings.
When your phone is unreachable or turned off.
Setting up call forwarding on your Android phone can be done in several ways, depending on your preferences and needs. Here’s a simple guide to help you get started:
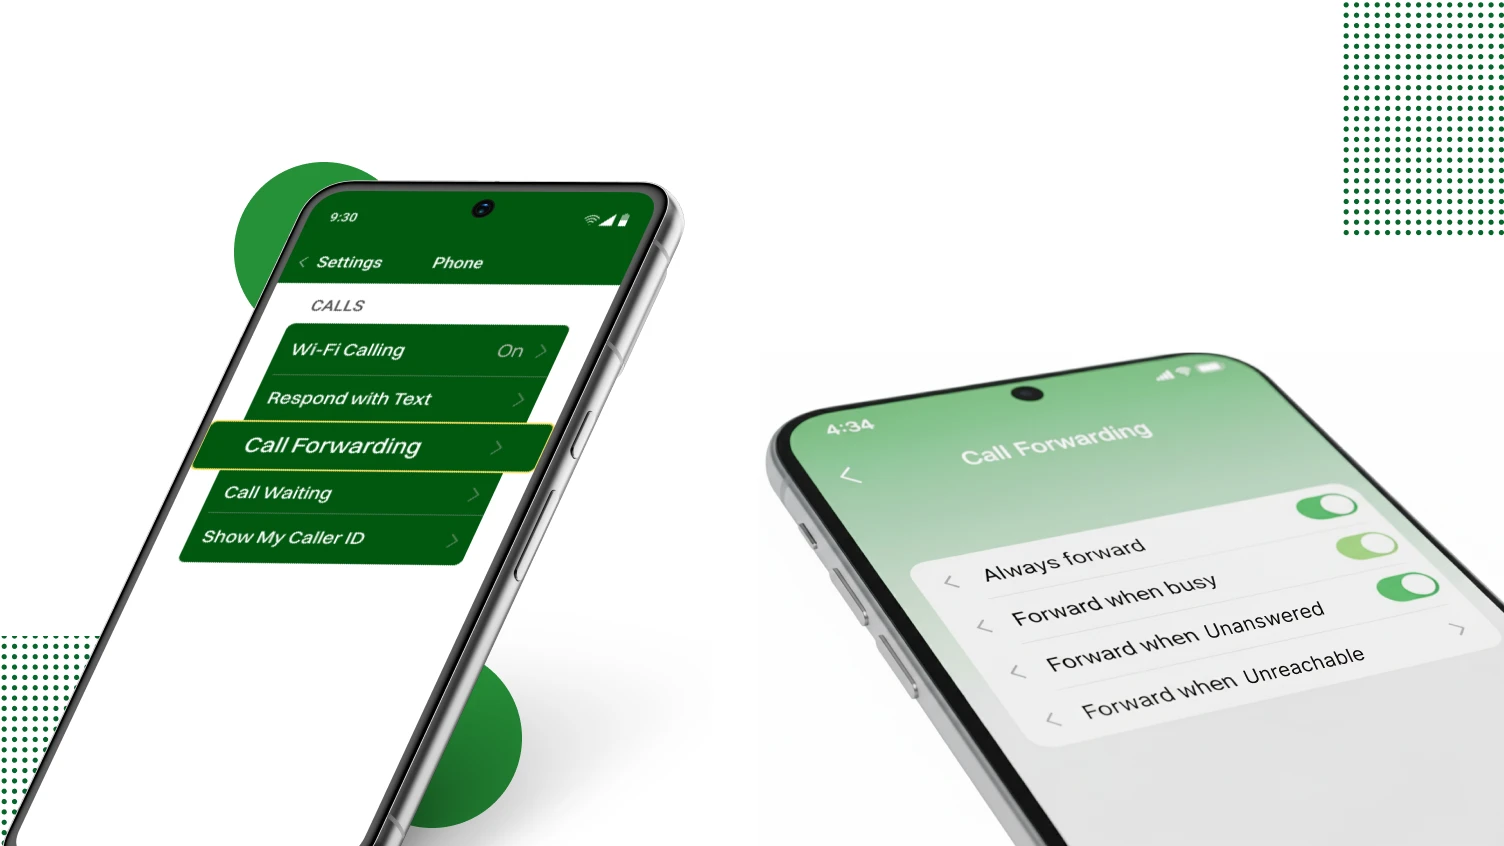
Step 1: Open the Phone App: Launch the default Phone application on your Android device.
Step 2: Access Settings: Tap the three-dot menu icon (usually located in the top-right corner) and select Settings.
Step 3: Navigate to Call Settings: Tap on Calls or Call Settings.
Step 4: Select Call Forwarding: Look for and tap on Call Forwarding.
Step 5: Choose Forwarding Option: You’ll see several options:
Step 6: Enter Forwarding Number: Select the desired forwarding option and enter the phone number to which you want your calls forwarded.
Step 7: Activate Forwarding: Tap Enable or Turn On to activate call forwarding.
To disable call forwarding, return to the same menu and select Turn Off for the active forwarding option.
If your carrier supports it, you can use star codes to set up call forwarding directly through your network.
Here are the steps to set up call forwarding on Android using star codes:
Step 1: Dial the Activation Code:
Step 2: Activate Forwarding: After dialing, wait for a confirmation tone or message indicating that call forwarding is active.
Step 3: Deactivate Forwarding: To cancel, dial the corresponding deactivation code:
Please note that these codes may vary depending on your carrier. It’s advisable to check with your carrier for the exact codes.
For more advanced call management, including selective call forwarding Android options, a virtual number app like Dialaxy can be a powerful solution. These apps provide a secondary phone number that you can link to your primary device. They often come with robust call routing features.
Here is how a virtual number app generally works for call forwarding:
Step 1: Download the App: Install a reputable virtual number app like Dialaxy from the Google Play Store.
Step 2: Set Up a Virtual Number: Follow the app’s instructions to acquire a new virtual phone number. This number acts as your public-facing contact.
Step 3: Configure Call Routing: Within the app’s settings, you can define how calls to your virtual number should be handled. This often includes options to:
Step 4: Activate in App: Once configured, activate the forwarding rules within the app. All calls to your virtual number will then follow your defined forwarding logic.
Using a virtual number app gives you greater flexibility. It offers professional features beyond basic call forwarding. It is ideal for business use or for those who want to separate personal and professional calls.
Carrier codes are certain codes that are dialed on the phone. They can communicate with the systems of your mobile network provider directly. These codes may enable, disable, or monitor the position of other services, such as call forwarding. They are a universal method. They are compatible with any Android brand or model.
It is important to note that while many codes are standardized across GSM networks, some may differ. Always refer to your carrier’s official website or customer service if you are unsure.
How to Forward Calls Using Carrier Codes on Android
| Feature | Code Format | Example |
|---|---|---|
| Forward all calls | **21*PhoneNumber# | **21*+1234567890# |
| Forward if busy | **67*PhoneNumber# | **67*+1234567890# |
| Forward if no answer | **61*PhoneNumber# | **61*+1234567890# |
| Forward if unreachable | **62*PhoneNumber# | **62*+1234567890# |
| Cancel all forwarding | ##21# | ##21# |
Replace phone number with the number to which you want your calls forwarded. Include the country code for international numbers.
Notes:
Phone App → Settings → Calls → Call Forwarding.
Maximizing your call forwarding experience involves more than just basic setup. Here are some smart tips and tricks. They will help you utilize this feature effectively.
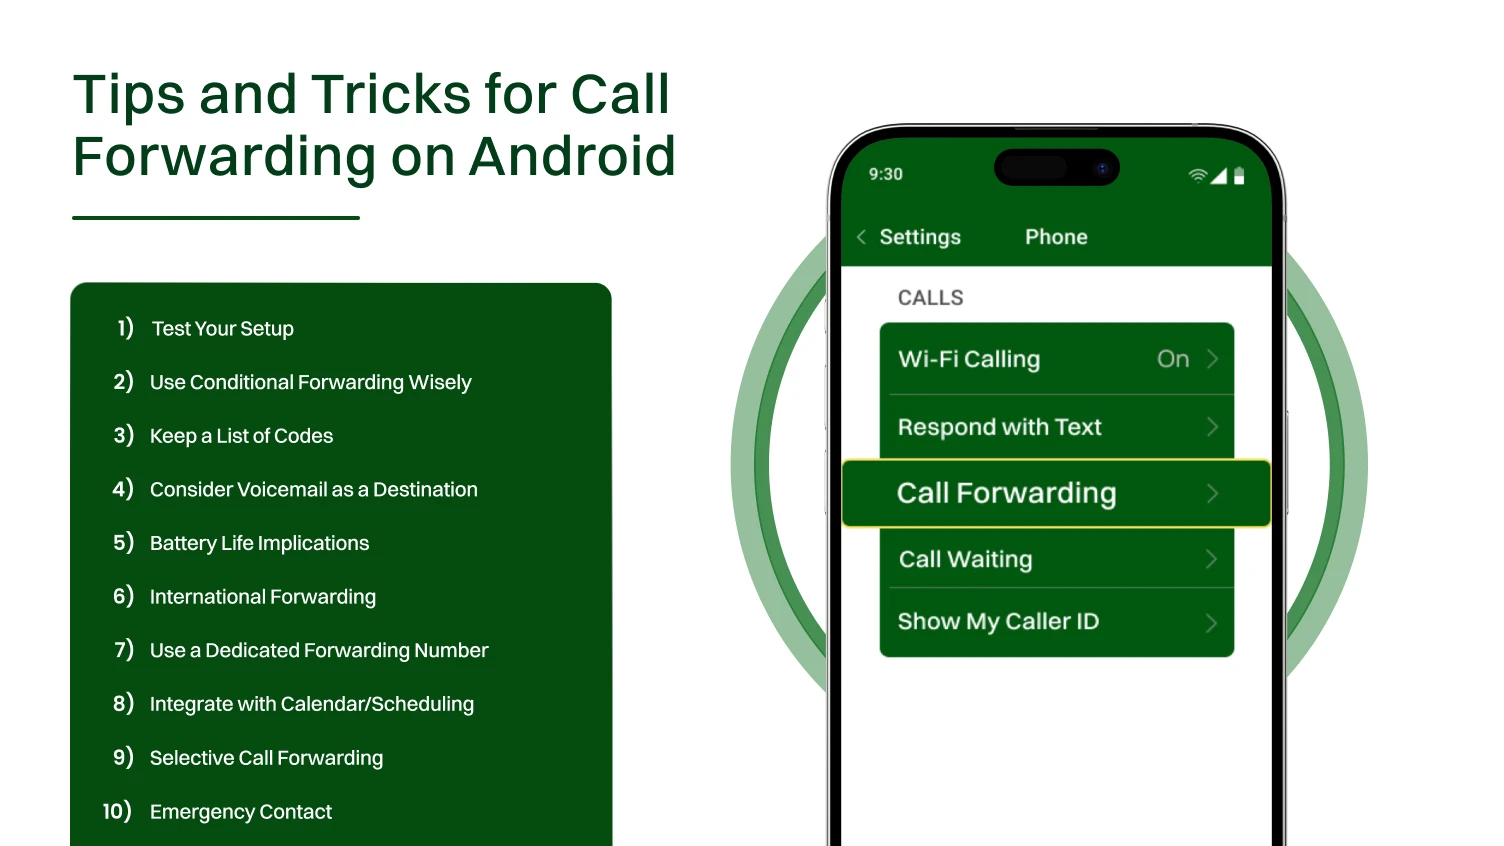
By implementing these tips, you can transform call forwarding from a simple utility into a powerful tool. It will enhance your communication management.
Sometimes, call forwarding on Android doesn’t work as expected. Here are the most common problems and how to fix them step by step.
Common Issues
Calls don’t go to the number you set. Significantly, the forwarding feature may not be working correctly if you see this issue. Otherwise, this can indicate that your network isn’t working well or that you have a forwarded call accessed in another country or area code.
If you incorrectly enter the number, calls forward fail. Ensure the number you’re using is correct and has the international dialing code and area code attached before you use it for forwarded calls.
Sometimes forwarded calls sound choppy, delayed, or unclear. This can happen because of a weak network, a poor connection, or issues with the receiving phone.
You may get errors when trying to activate call forwarding or deactivate call forwarding. This can happen if your carrier doesn’t support the code you are using, or if your phone settings are not correct.
Conditional forwarding is when calls forward only under certain situations, like when your line is busy, unanswered, or unreachable. Sometimes it doesn’t work because the condition is not set correctly, or the network didn’t register it.
How to fix these issues
In today’s interconnected professional landscape, being available is not a luxury anymore. It is a requirement. But it is not practical to be connected to a single device at all times. However, constantly being tied to a single device is impractical. This is where Dialaxy steps in. It transforms your Android’s call forwarding capabilities into a powerful availability management tool.
Dialaxy elevates call forwarding beyond simple redirection. It gives you a complete range of functionalities. These functionalities are designed to make you never miss an urgent call, wherever you are and whatever you’re doing. Imagine having the flexibility to:
Consider a scenario: you are a small business owner. You rely heavily on your mobile phone. With Dialaxy, you can present a professional local or toll-free number. All calls to this number can be intelligently forwarded. They can go to your personal Android, a virtual assistant, or a custom voicemail system. You retain control. You enhance your professional image.
Dialaxy is not just about forwarding calls. It is like a smart helper that manages all your communication. It makes sure you are always available when someone needs you. Every call is sent to the right place, so no one is left waiting.
This way, you don’t waste time worrying about missed calls. Instead, you can focus on the things that are most important to you. Dialaxy works like a guide that keeps your communication smooth and simple. It helps you stay connected, organized, and stress-free.
Call forwarding on Android is a simple but powerful tool for remaining connected and managing your calls. Call forwarding is a useful feature built into normal phone functionality, the phone app you may use on your phone, and in advanced call management apps like Dialaxy. Most importantly, it allows you to have control of your calls with regard to how and when they are forwarded.
Once properly set up, it means that you will not miss that important call again. In addition, conditional forwarding, time-based call forwarding, and virtual phone numbers are just some ways you can use call forwarding to remain professional and still be connected quickly and easily.
After understanding the types of call forwarding, how to set it up, common issues related to call forwarding, and solutions to those problems, you can make, receive, and manage your calls easily for either personal or business use, organized and stress-free.
To automatically forward calls, go to your phone or VoIP settings, find Call Forwarding, enter the number you want calls sent to, and enable it. All incoming calls will then be redirected automatically.
Call Forward redirects all incoming calls to another number automatically, while Call Divert usually redirects calls only when your line is busy, unanswered, or unreachable.
If you put your phone on call forwarding, all incoming calls are automatically redirected to the number you set, so your phone won’t ring for those calls.
Dialing *#62# shows you the number where calls are being forwarded when your phone is unreachable or out of service. It’s mainly a call forwarding status code.
Here are the clear steps to divert calls on Android:
Step 1: Open the Phone app.
Step 2: Tap the three-dot menu (top-right).
Step 3: Go to Settings (or Call Settings).
Step 4: Select Call Forwarding.
Step 5: Choose the option:
Step 6: Enter the phone number you want calls diverted to.
Step 7: Tap Enable or Turn On to activate.
The standard call forwarding code is *72 (to activate) and *73 (to deactivate).
Call forwarding is generally secure, but risks depend on your provider and setup. Using strong account passwords and enabling two-factor authentication helps keep it safe.
